- Academica
- AppWorx
- Banner
- Document Management
- Dropbox Sign
- Reporting/Business Intelligence
- Website Management
- Webtime Entry
- Workflow

How do I prepare and send document requests for signing in Dropbox Sign?
Creating documents for signing in Dropbox Sign is fast and easy. Follow the steps below to prepare a document request for signing in Dropbox Sign.
1. Navigate to https://login.wayne.edu/?destination_url=https://app.hellosign.com to access Dropbox Sign using your WSU AccessID credential.
2. Locate the document(s) you wish to send for signature on your personal device.
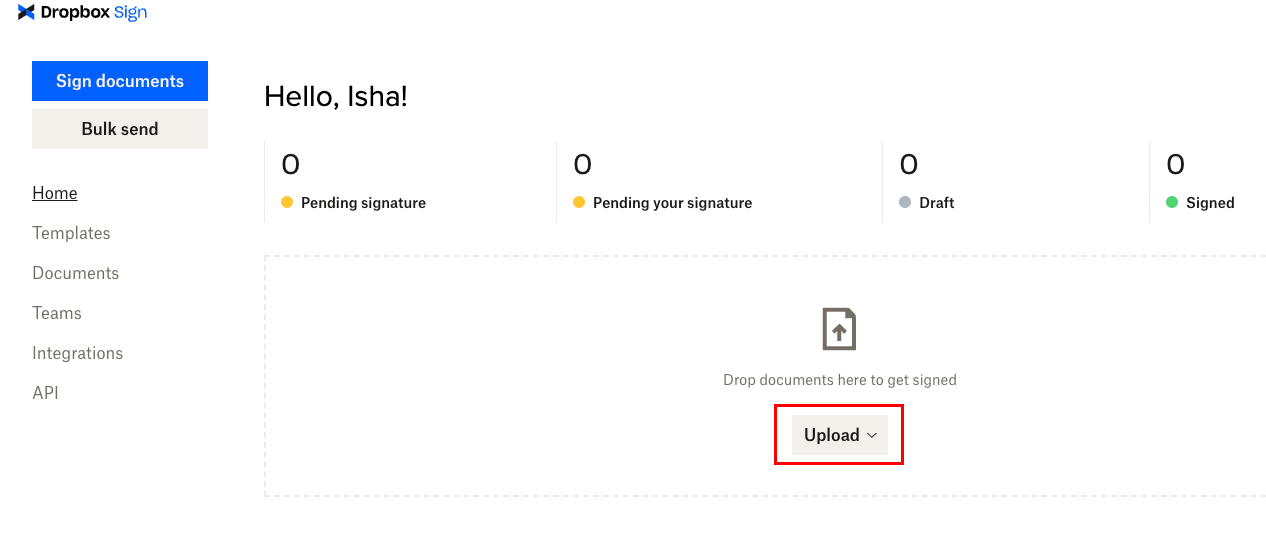
- You can upload files directly from your computer by clicking Upload file and then selecting computer. Additionally, you can drag and drop files to the Drag and drop files here area.
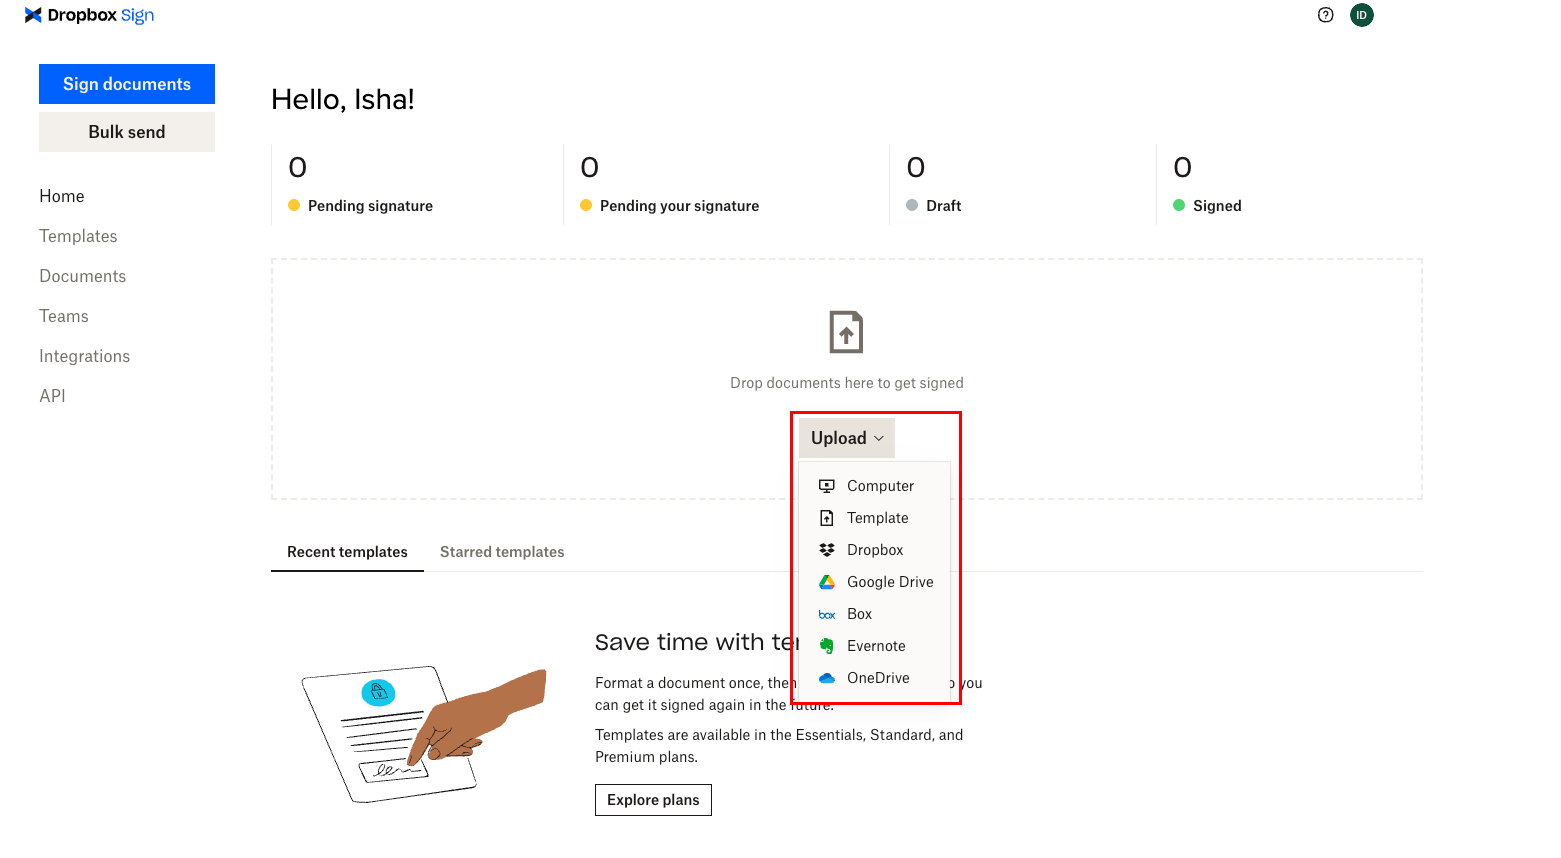
- To add files from a third-party application, click the appropriate third-party app icon and follow the prompts.
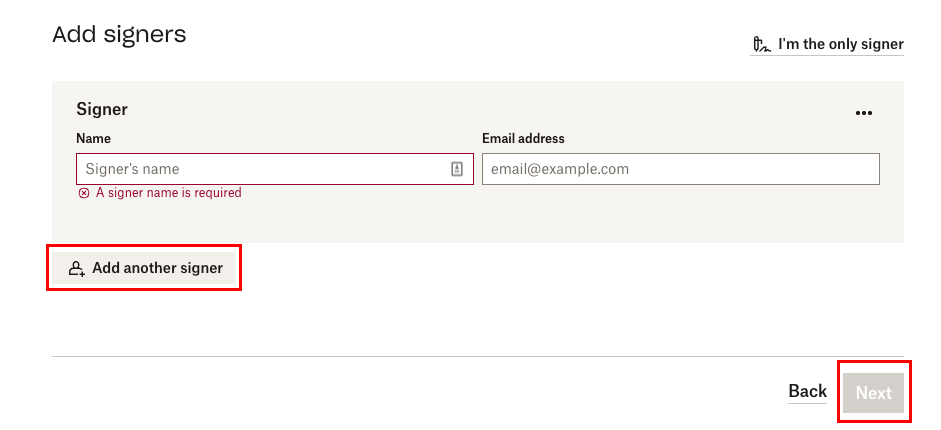
3. Add the names and email addresses of the people who need to sign, and then click Next to begin editing the document. Note: You can add up to 20 signers per signature request.
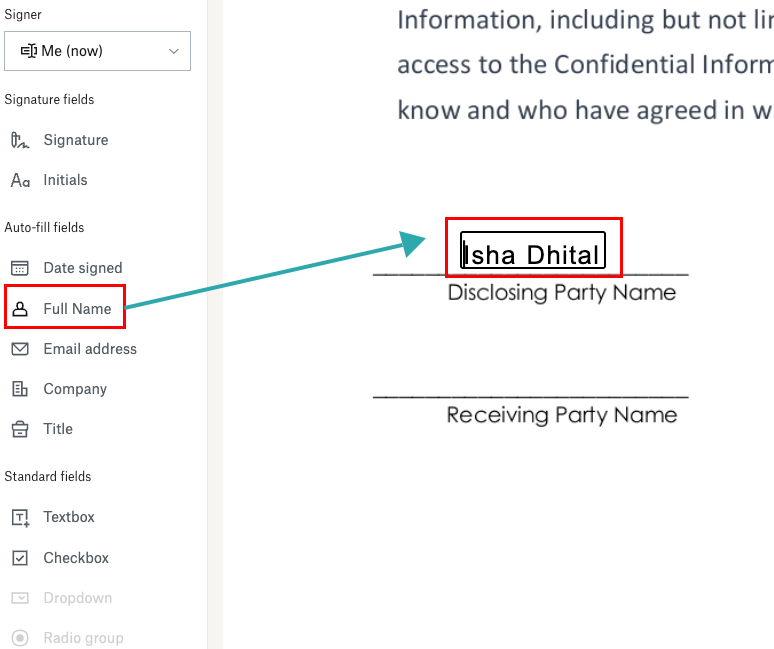
4. Using the Dropbox Sign editor, click and drag the fields you want to add to your document.
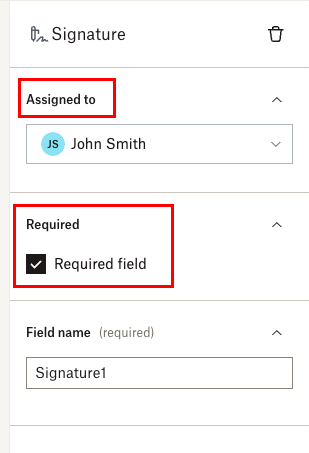
5. You can re-assign fields to a different signer by clicking the Assigned to drop-down menu in the right sidebar. To make certain fields optional, click on a field, then toggle Required to off.
6. To add additional documents, navigate to the Documents section and click + Add document.
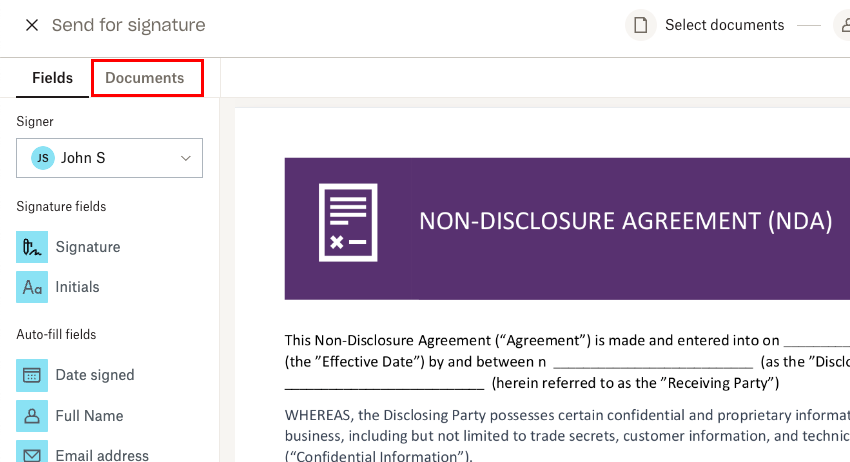
7. Click Next when you are ready to send for signature.
8. Enter the name of the recipient, followed by their email address.
• To add more than one signer, click Add another signer.
• If you are sending the document to multiple recipients and would like to set/change the order of who signs the document, toggle the Set signer order option on, and use the grid to rearrange the order of signers.
• Click Next.
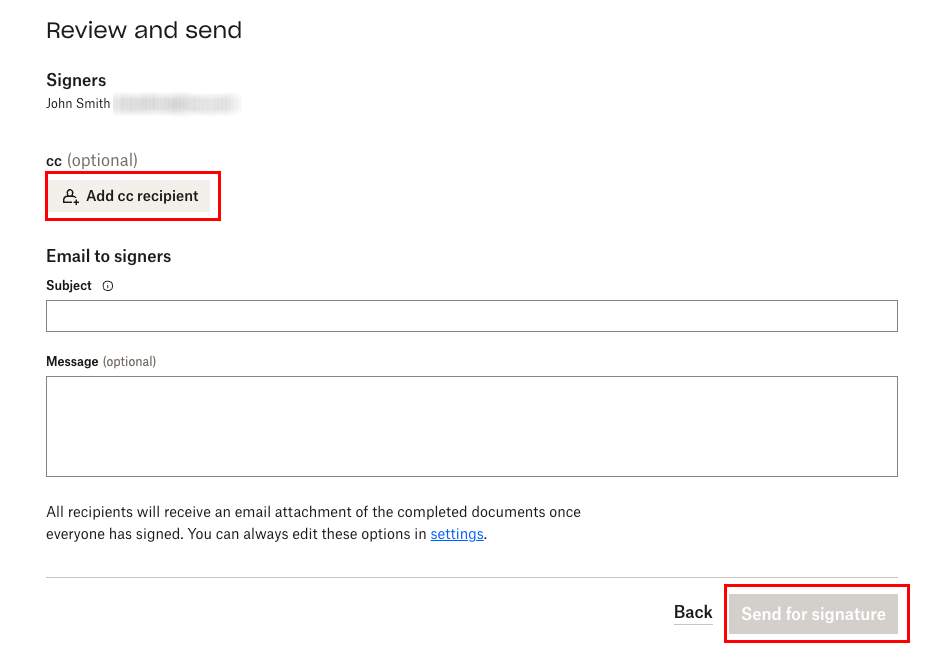
9. To send the document for signature, first enter the subject along with an message (optional) and then click Send for signature.